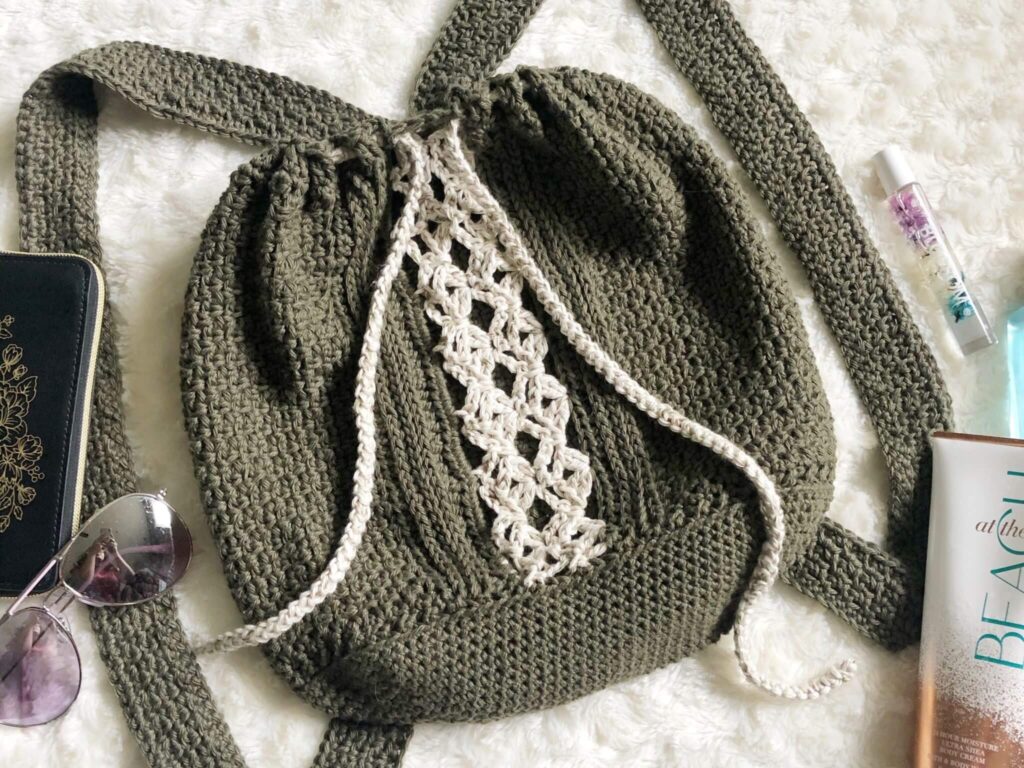
How to Crochet a Backpack? It is a rewarding and empowering experience for your unique style and outfit. Not only do you get to showcase your creativity and style, but you also end up with a functional and personalized accessory. From choosing the suitable materials to adding the finishing touches, we’ll show you how to crochet a backpack.
Materials Needed:
Yarn:
Make sure the yarn you choose is durable and suitable for backpacks. A popular choice is cotton yarn due to its strength and washability. Your style and personality should be reflected in the color you choose.
Crochet Hook:
Depending on the weight of your yarn, you will need a different size hook. Refer to the label to determine the hook size recommended for your yarn. A hook between 4.5 mm and 6 mm is typically used for medium-weight yarn.
Lining Fabric:
Choose a sturdy fabric for the lining of your backpack. This will help protect the crochet exterior and add structure to the bag.
Zipper or Closure:
Depending on your preference, you can use a zipper, buttons, or drawstring to close your backpack.
Sewing Needle and Thread:
These will attach the lining and any closures.
Stitch Markers:
These will help you keep track of your stitches and rounds.
Plan Your Design
Before you start crocheting, it’s essential to plan your design. Decide on the size of your backpack, the number of compartments, and any additional features you want to include, such as pockets or straps.
How to Crochet a Backpack Body
1. Start by crocheting a flat panel for the bottom of the backpack. For the width of the fabric, chain the desired number of stitches, then work rows of single crochet until the panel reaches the desired length.
2. Once the bottom panel is complete, begin crocheting the sides of the backpack. Work in rounds, increasing stitches evenly along the edges of the bottom panel to create a cylindrical shape.
3. Continue crocheting in rounds until the backpack’s body reaches the desired height. You can add stripes, textures, or other design elements to personalize your bag.
Add Straps and Handles
1. To create straps, crochet two long chains of stitches. Attach one end of each strap to the top edges of the backpack and secure them with slip stitches.
2. For handles, crochet a shorter chain of stitches and attach them to the top of the backpack, spaced evenly apart.
Position the straps on the back of the backpack where you want them to sit. Use slip stitches or single crochets to attach the straps securely to the body of the backpack.
Add a Lining
1. Make a seam allowance on your fabric piece so it can fit inside your backpack.
2. Sew the fabric along the sides and bottom, leaving the top open.
3. Insert the lining into the backpack and hand-stitch it along the top edge.
Attach a Closure
Attach a zipper, buttons, or drawstring to close your backpack securely, depending on your design.
Finishing Touches
If there are any loose ends, weave them in and trim the excess yarn. Your crocheted backpack is now ready to use!
Crocheting a backpack is a fun and creative way to express yourself. You can make a stylish accessory that turns heads wherever you go by following these simple steps. Now that you have your yarn and hook, you can begin crocheting your one-of-a-kind backpack!
Finally, crocheting a backpack is a creative and fulfilling project that showcases your style and craftsmanship. You can create a practical and fashionable accessory that is both unique and personalized by following the steps outlined in this guide.